
This section explains how you can create project in STOVE Studio.
To launch a game in STOVE Store, you need to create a Project first.
1. Project Registration
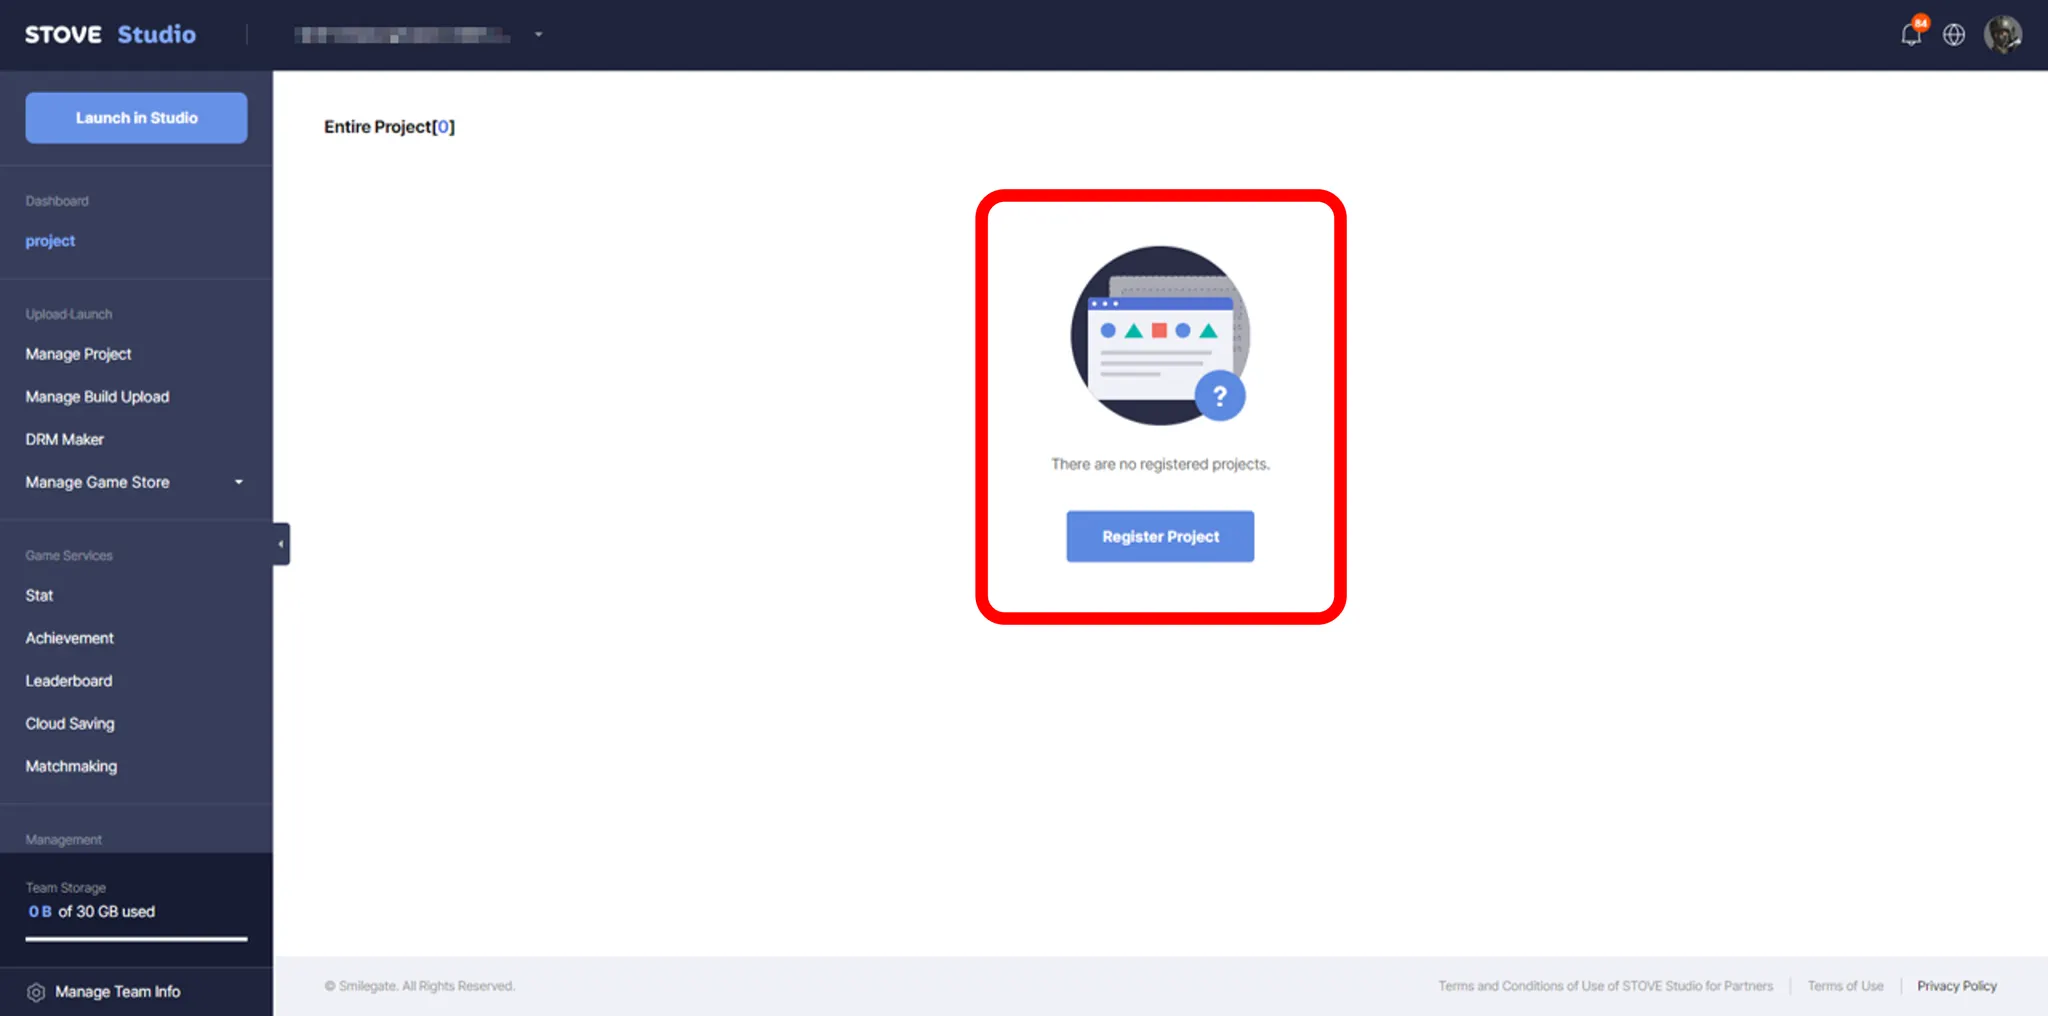
For New Members to STOVE Studio
If you are new to STOVE Studio or do not have any project, you should see such screen as below, when logged into STOVE Studio. (See below)
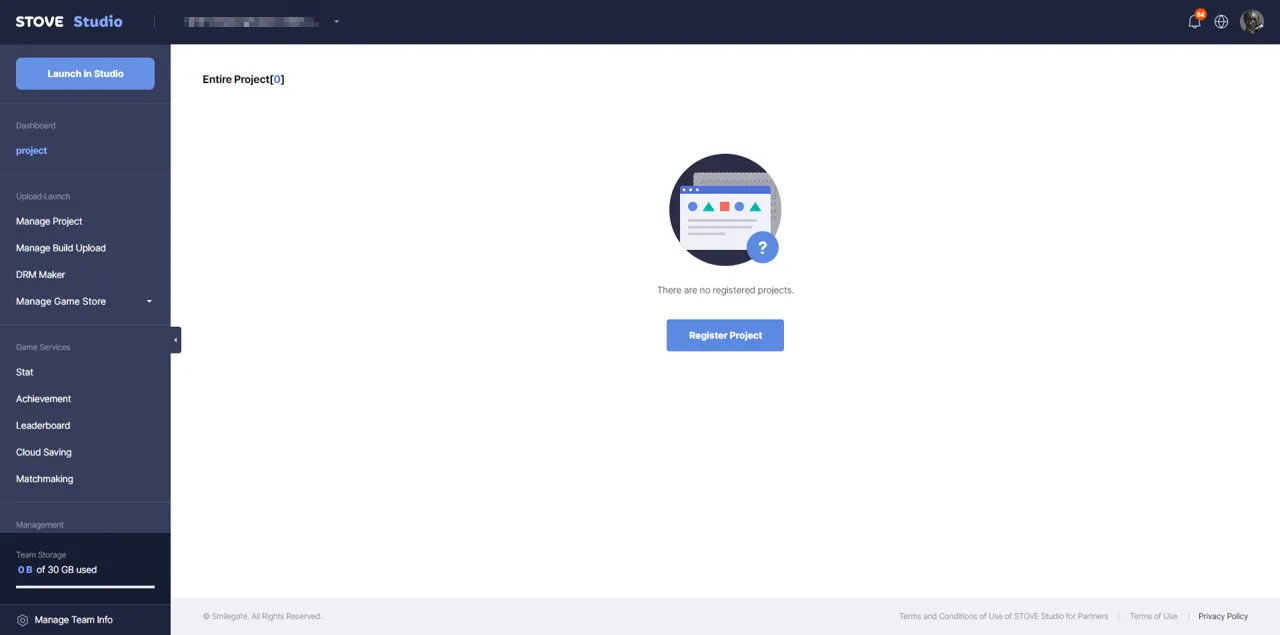
To create a project, click “Register Project” in the center.
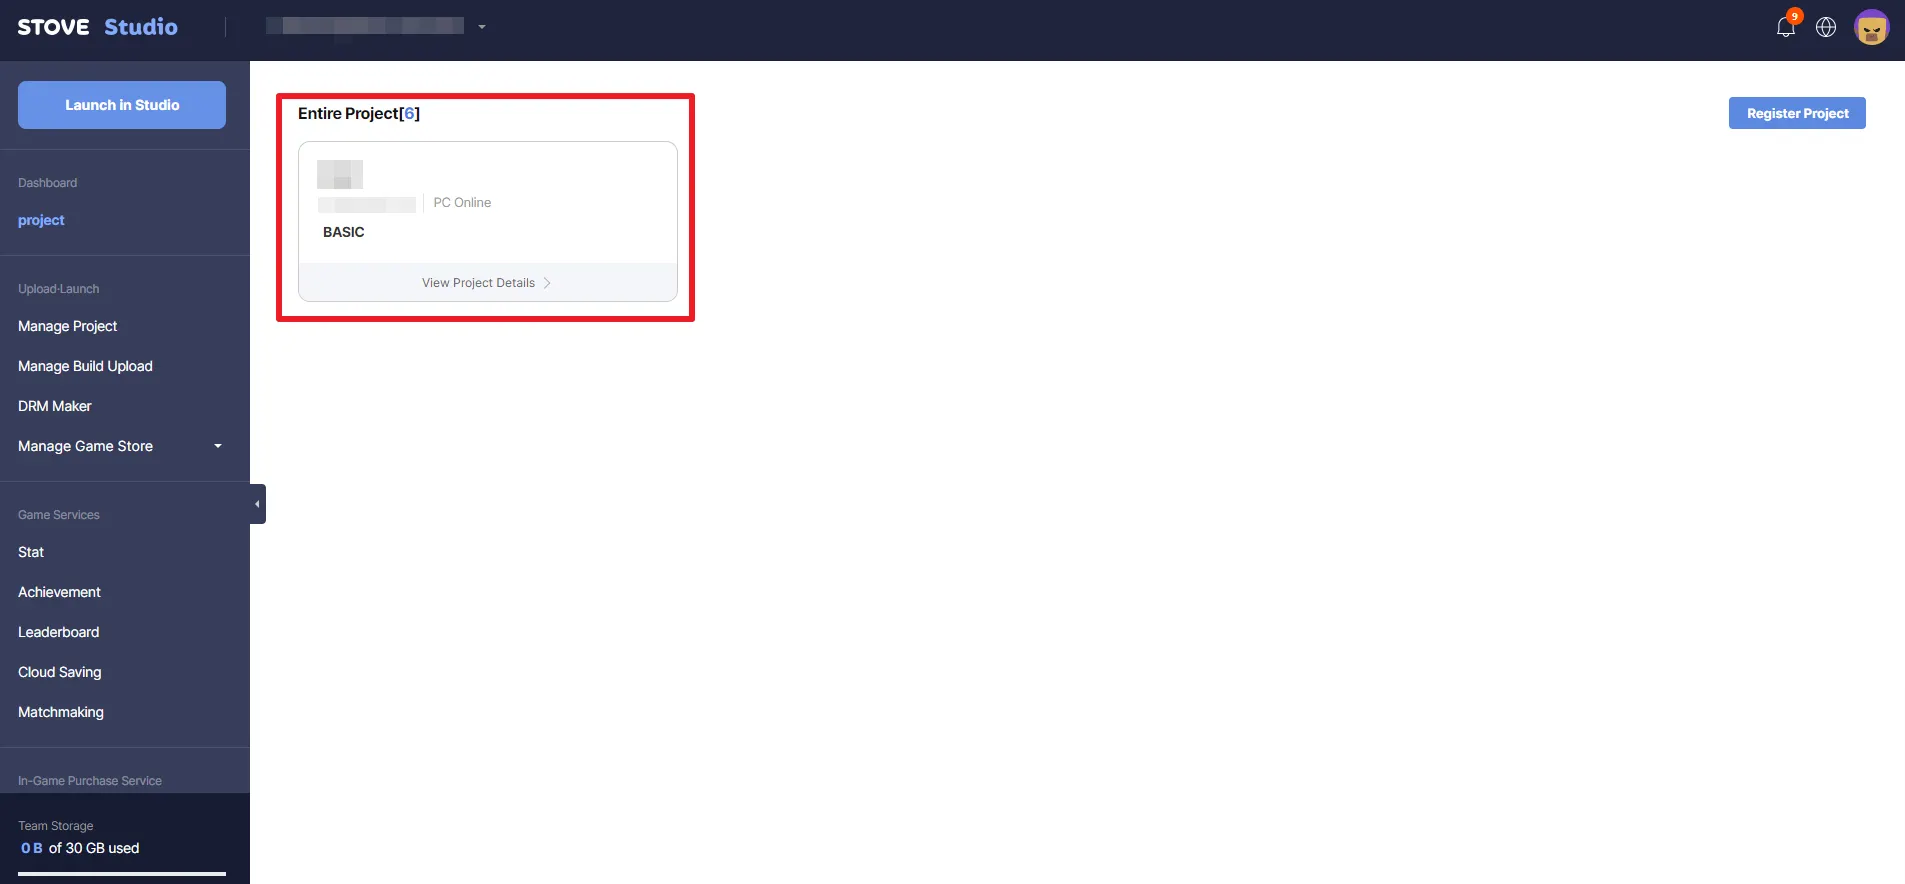
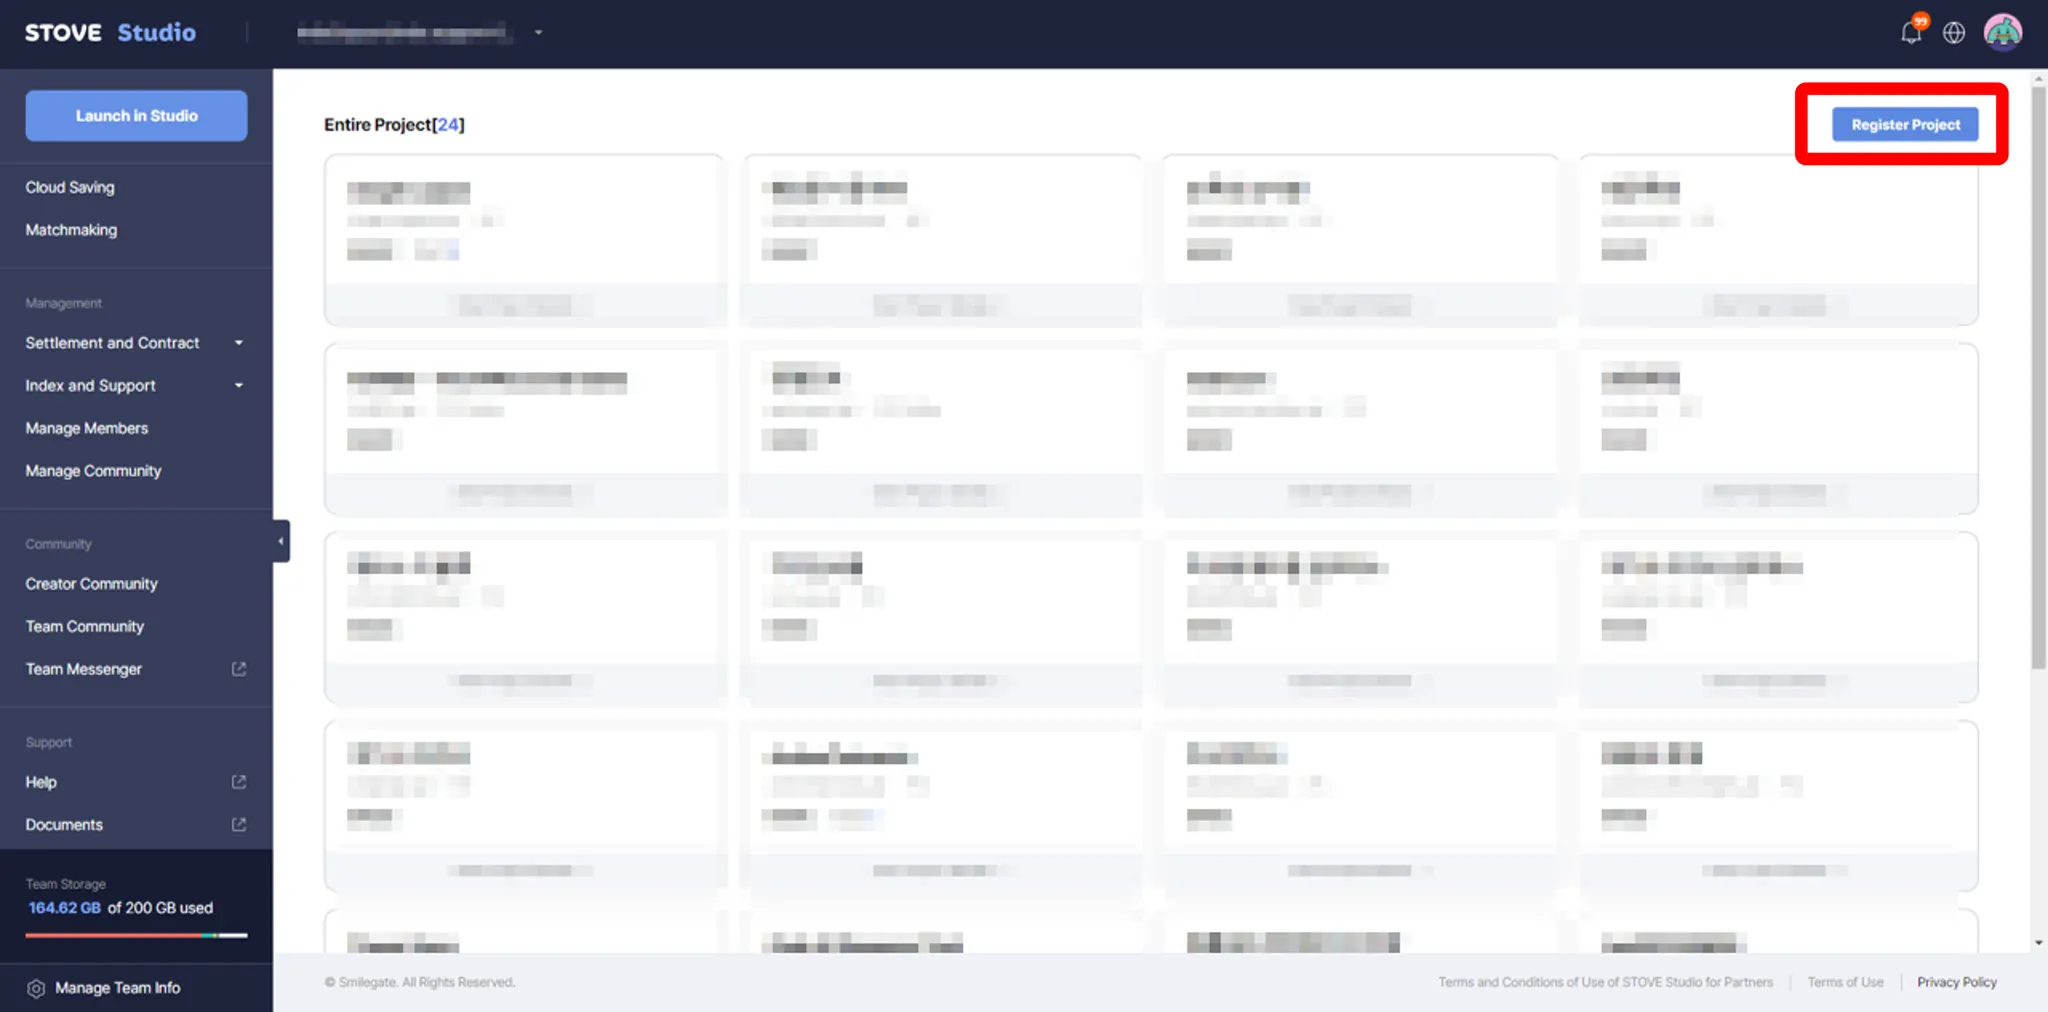
For Members who already have a project in STOVE Studio
Click top-right in the Projects under Dashboard (see below)
Note: Only Team Owners can create a project for the Team.
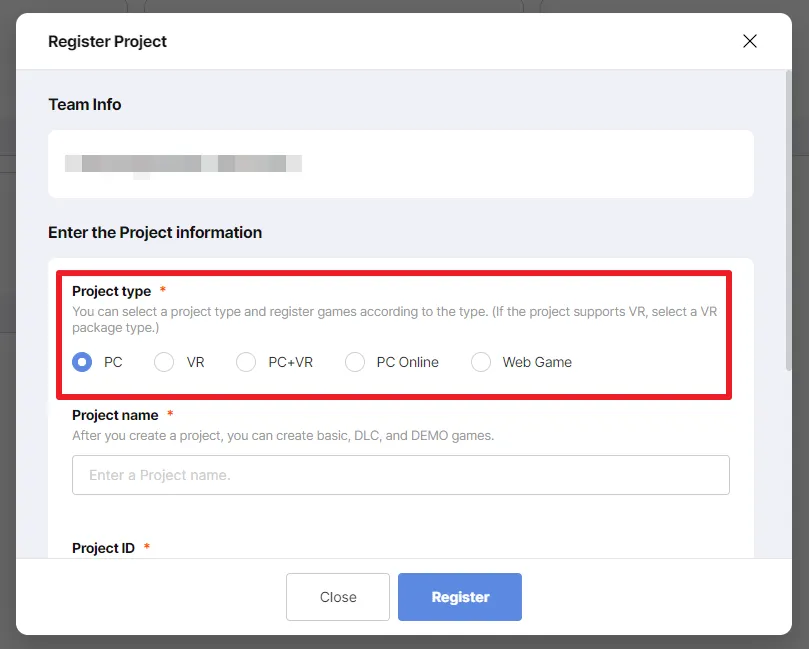
2. Select Type and Enter Details
Choose your game type (PC, VR, PC+VR, PC online, Web Game)
※ If your game has an online server (matchmaking), please select PC Online
Type | Description |
PC | When your game is based on PC, and is operated without a separate game server. |
VR | When your game supports VR only. |
PC+VR | When your game supports both PC and VR |
PC Online | When you game has an online server (e.g. MMORPGs or online MOBAs) |
Web Game | When your game is operated based on a web browser. |
If you scroll down, you will be required to fill-in information such as Project Name, Project ID, and Game ID , see below for the rules when entering such names.
Item | Description |
*Project Name | - Name of your project (usually the game name)
- Project name can be edited in the Project Management menu.
- Only English is allowed. |
*Project ID | - ID of your project
- We just to create it similar to the Project Name.
- Project ID cannot be edited, so be careful.
- Only English, Numbers, Hyphens (-), Underscores (_), Periods(.) are allowed. |
*Game ID | This is a BASIC type ID used for SDK integration. (English {Small Letter, Capital Letter}, numbers, more than 4 characters, no Korean) - Please enter carefully as it cannot be modified. - Only English and numbers, hyphens (-), underbars (_), and periods (.) can be used, and spaces are not allowed. |
3. If you have entered all the information, then click Register
If registered properly, it should be created as below.